

  |
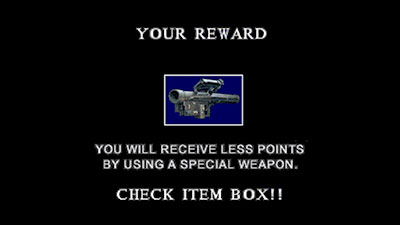
Resident Evil 2 (Platinum Edition) / Claire A Scenario 1 Six Saves Speedrun for Unlimited Ammo Rocket Launcher |
|||||||
~ RESIDENT EVIL 2 ~
|
Leon A Scenario 1 6 Saves Speedrun for Unlimited Ammo Rocket Launcher |
Claire B Scenario 2 No Save Speedrun for Unlimited Ammo Gatling & MAC11 |
Claire A Scenario 1 6 Saves Speedrun for Unlimited Ammo Rocket Launcher |
Leon B Scenario 2 No Save Speedrun for Unlimited Ammo Gatling & MAC11 |
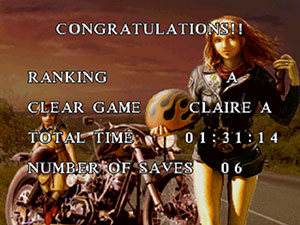
This speedrun guide has been tweaked based partially off MKim's Claire Scenario 1 Speed Guide hosted on GameFAQs. The main goal of this guide is to help the reasonably experienced RE2 gamer get the coveted Unlimited Ammo Rocket Launcher plus a bonus "A" Ranking under 2 hours with a maximum of 6 Saves! This has been tested and retested with the changes to make sure it's viable (with decent room for error. e.g. zombie grabs and bites, wrong turns, forgetting to pause). Hence, being an advanced player to use this guide is not a prerequisite. KNOWING THE GAME IS! Obviously this is NOT for first-timers, and will assume that you have done a long playthrough of Claire A Scenario 1 at least once to get a feel and an idea of where things are. In short, if you are struggling to find where the items are, and/or you can't make heads or tails what the guide is referencing, then this guide is NOT for you... yet!
I have also taken the liberty to rename some rooms in the maps, and I have chosen NOT to bypass some creatures in the game (I don't like things in my way!). Feel free to bypass any at your leisure, but always remember the main goal of this guide - to help you get the Rocket Launcher (NOT the best speedrun time!). Trying to bypass some dogs (and fail) or getting swarmed by zombies just to save some ammo and then dying is not worth it, unless you don't mind reloading a saved game.Also, take note of the following conditions which MUST BE MET for this endeavour to succeed:
Basically, just follow the guide to the letter, and you'll be fine. Remember, the PAUSE KEY / F1 is your best friend as you will be making extensive use of it. Are you ready? Let's go.
G /  = Green Herb
 B /
B /  = Blue Herb
 R /
R /  = Red Herb
 3xG = Triple Green Mix
 RGB = Red Green Blue Mix
 GB = Green Blue Mix
1. Navigate area to Police Station. Take *ALL* Hand Gun Bullets if possible.
2. Take 1 G at planter.
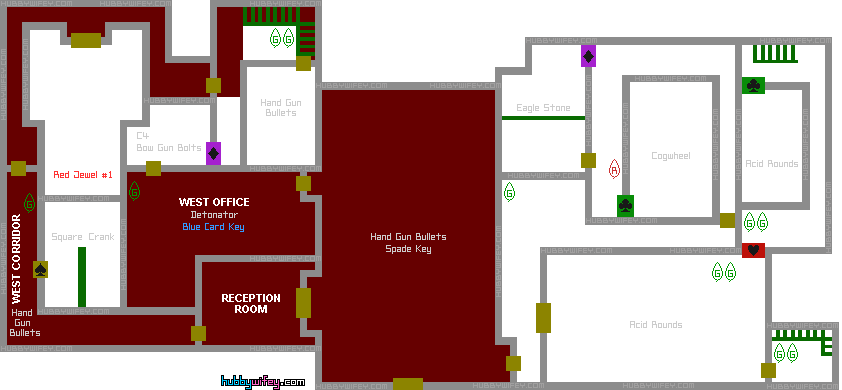
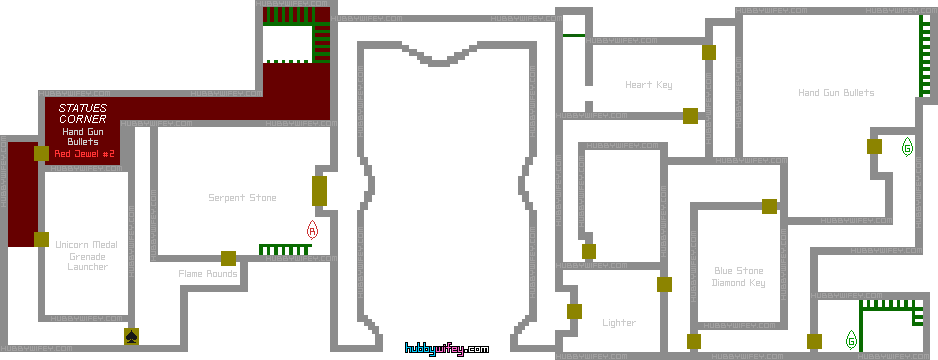
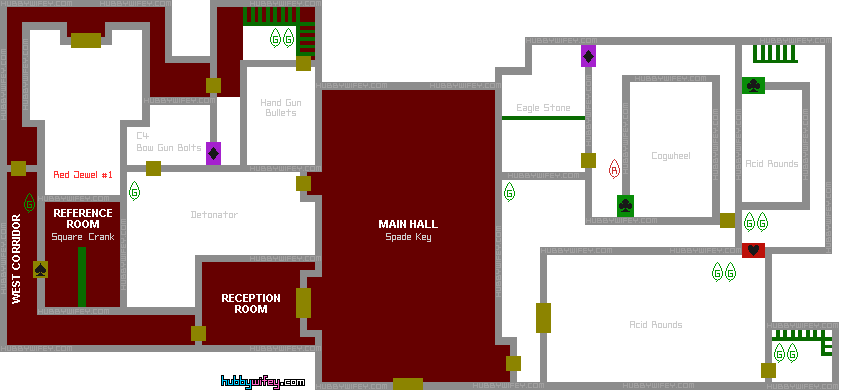
10. Backtrack to Reception Room. At West Corridor, kill Licker and take 1 G.
11. At Reception Room.
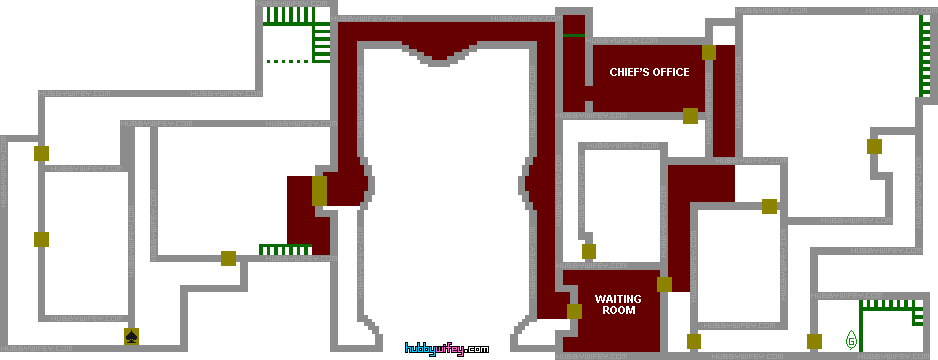
12. Go Main Hall. Use Unicorn Medal. Take Spade Key.
13. Go Reference Room. Take Square Crank.
14. Go back upstairs to S.T.A.R.S. Office corridor. Use Spade Key around corner.
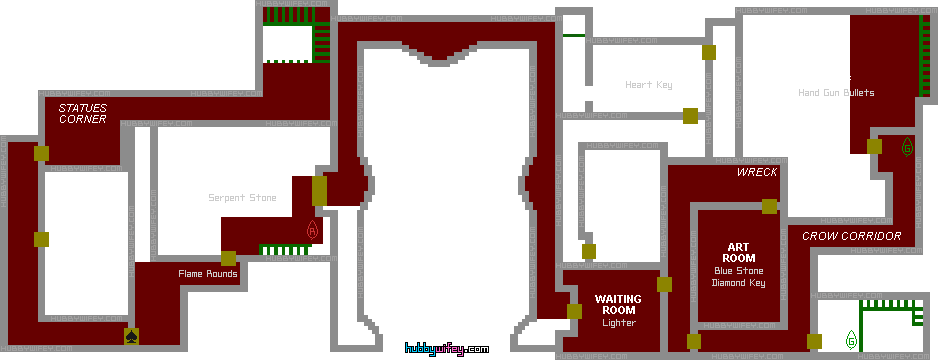
19. Go past Crow Corridor to the Roof. Ignore zombies and crows.
20. Go down stairwell. Avoid/Kill zombies. Go to Shed. Take Valve Handle and Bow Gun.
21. Go back up stairwell. Use Valve Handle. Take Hand Gun Bullets from cockpit.
22. Back to Crow Corridor. Ignore crows again. Zombies vanished in corridor to Art Room?!
23. Go Art Room. Take Diamond Key.
24. Go Balcony and down the Emergency Ladder.
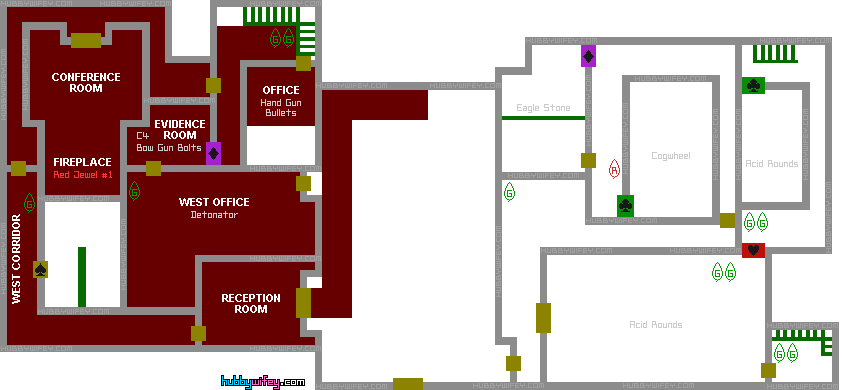
25. Head to Conference Room, then Fireplace. Light up painting. Take Red Jewel #1.
26. Go Darkroom Office. Take more Hand Gun Bullets.
27. Exit Darkroom Office and take 2 Gs outside. Combine to save space.
28. Go to Evidence Room. Kill zombies in the way. Take C4 and Bow Gun Bolts.
29. Go West Office. Take 1 G. Combine to make 3xG.
30. Take Detonator. Combine Detonator + C4.
31. Go up Emergency Ladder, then Waiting Room.
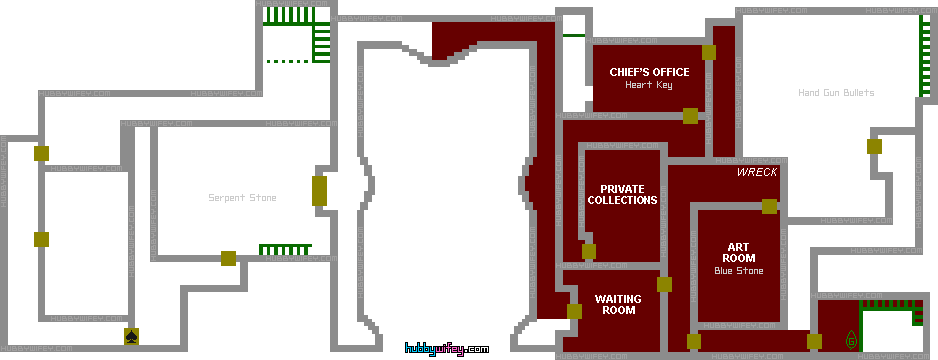
33. Go Art Room. Use the Red Jewels and take Blue Stone. Exit.
34. Use Bomb & Detonator by helicopter wreck.
35. Go Chief's Office. Talk to Chief. Onward to Private Collections. Trigger Sherry cutscene and leave.
36. Go back to Chief's Office. Take Heart Key.
37. Go Emergency Stairwell. Take 1 G. Descend.
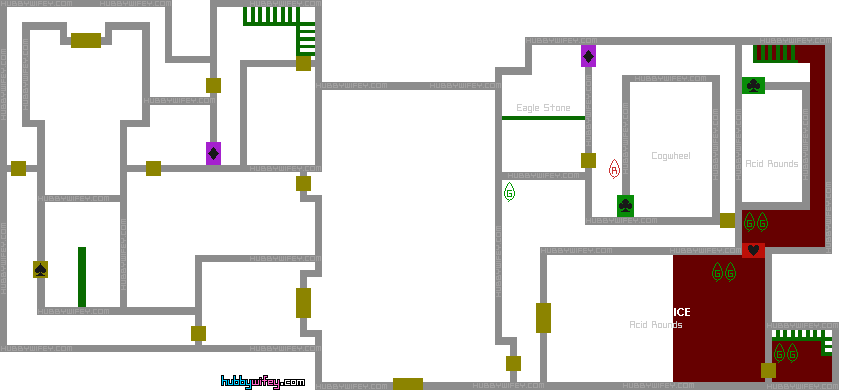
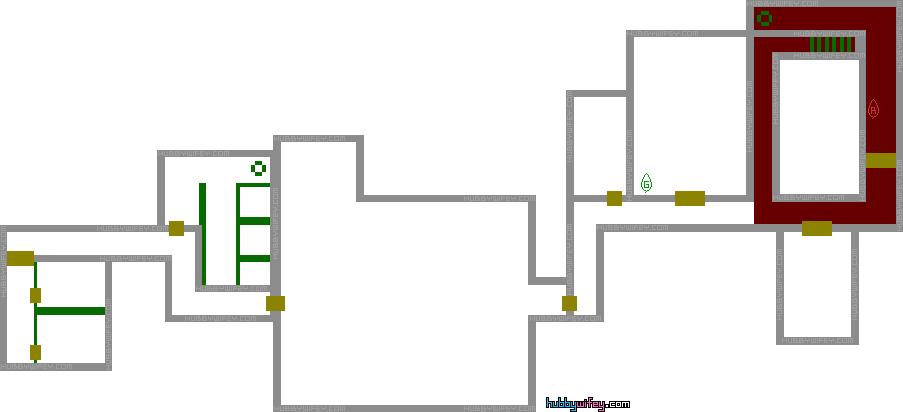
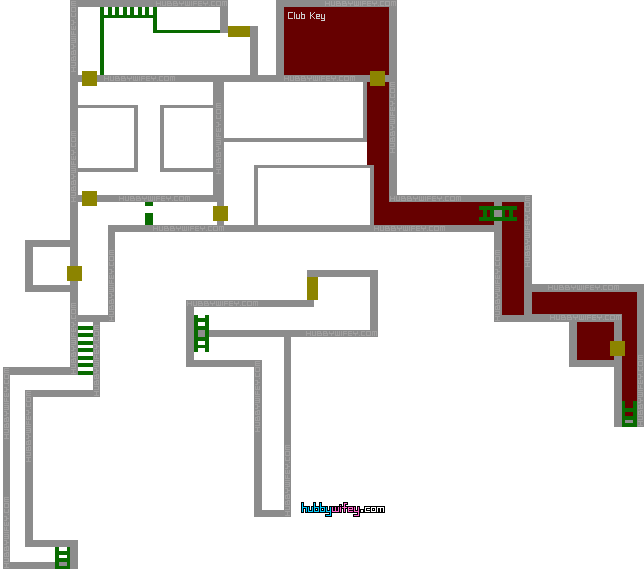
45. SAVE GAME!

46. Go back up to Basement. Kill Licker(s) in the way. Exit back to staircase.
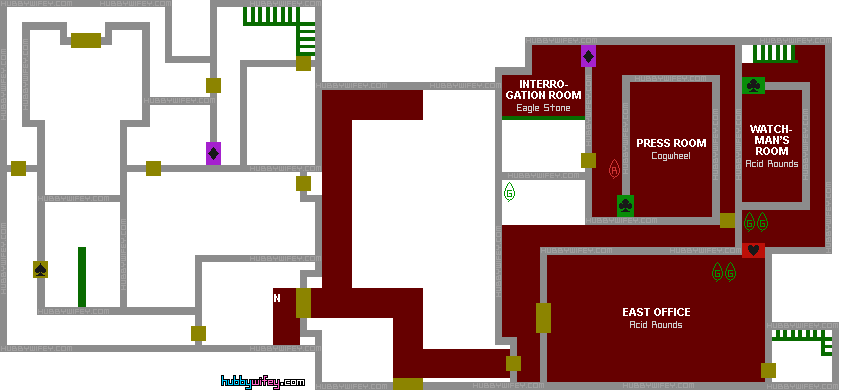
54. Go Emergency Ladder. Ascend. Ignore Licker. Go Library.
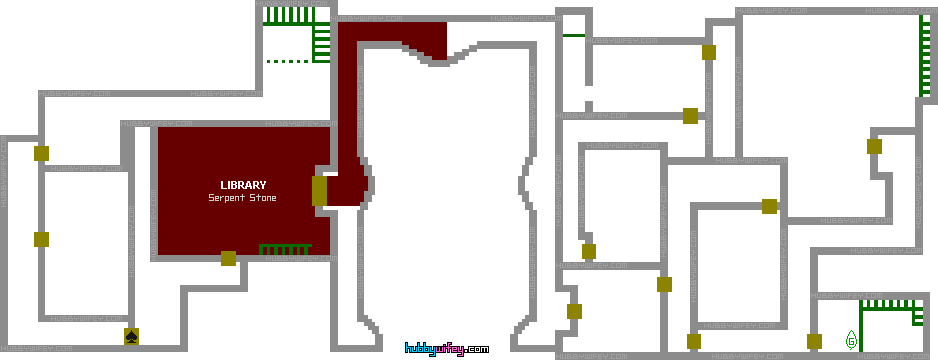
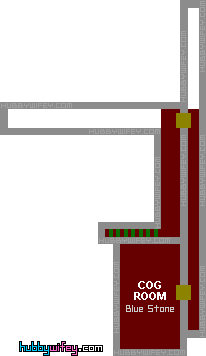
59. SAVE GAME!
60. Go Chief's Office. Use Stones and solve Painting Puzzle.
61. Go Elevator and down to Basement Dungeon. Take Acid Rounds. Climb down Ladder.
62. PLUG MONSTER WITH 7 OR SO ACID ROUNDS! Ignore the little biting bastards. :)
63. Backtrack up the Ladder, and back to the Elevator and up for Sherry.
64. Retrace your way back down the Elevator and to the Ladder platform again. Activate the other Ladder. Climb up.
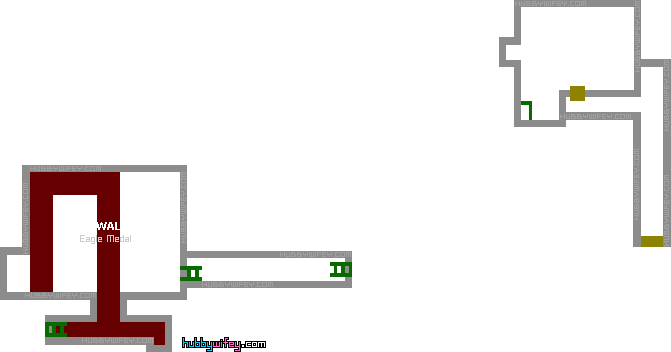
65. As Sherry: Go Warehouse. Enter Duct. Enter another Duct at end of Fan Tunnel. Take Wolf Medal.
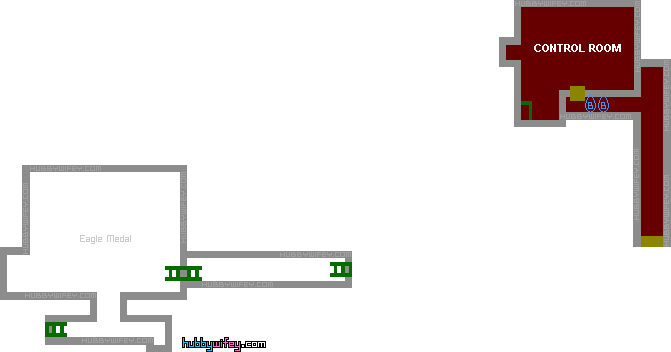
67. Go down Warehouse. Avoid zombie. Take Grenade Rounds. Climb back up.
68. Take the Lift down.
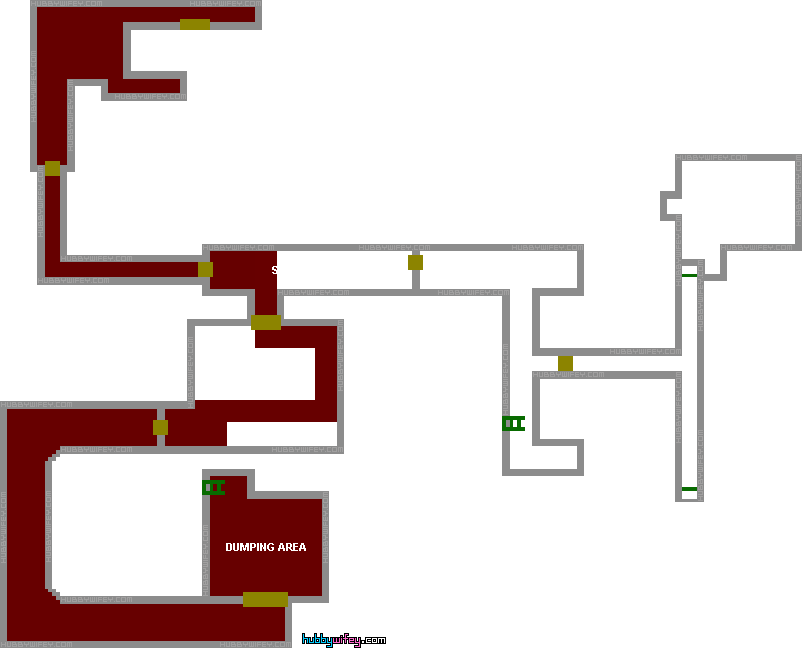
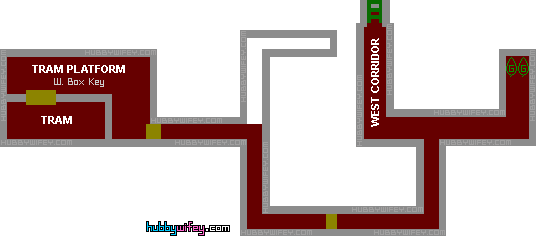
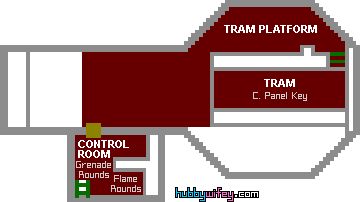
82. SAVE GAME!
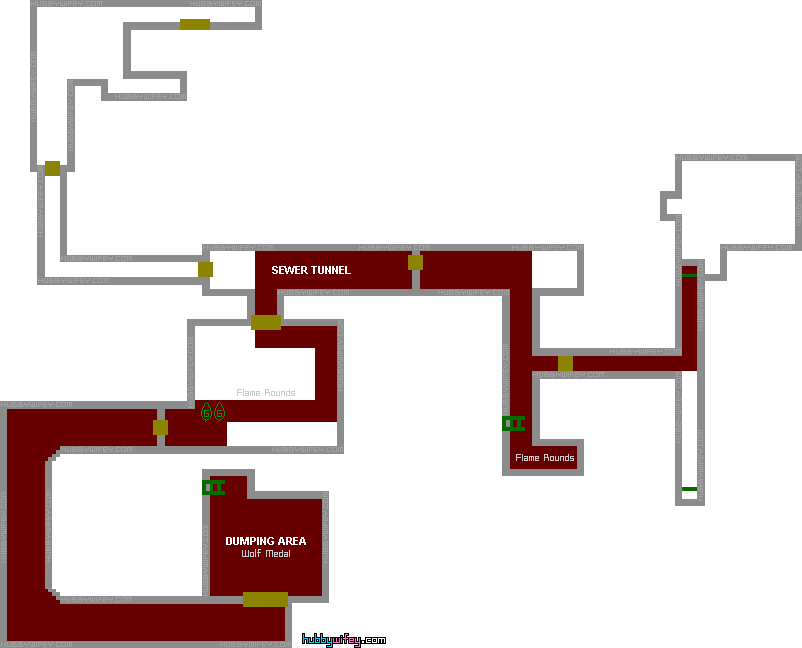
83. Go into Tram. Go toilet. Take Flame Rounds.
84. Go to the front controls. Take C. Panel Key.
85. Exit train. Operate Activation Switch and re-board train.
86. SHOOT WILLIAM WITH FLAME ROUNDS (roughly about 8 or so shots)!
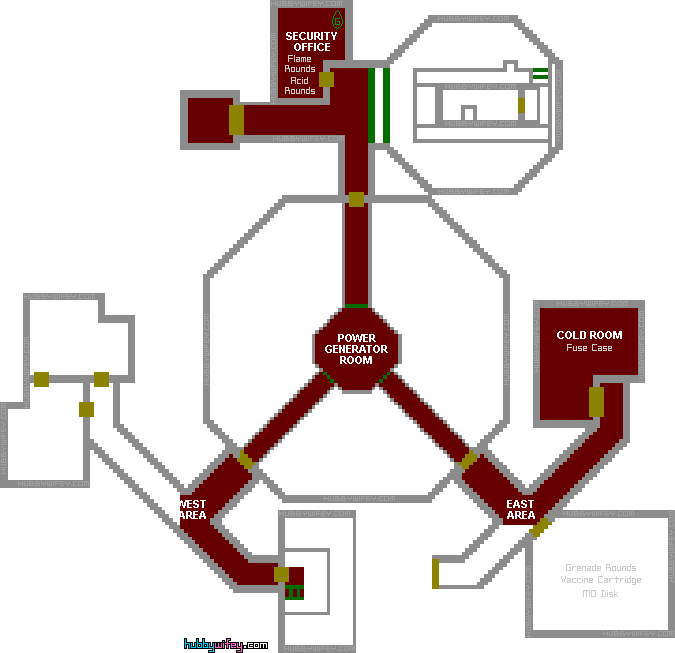
88. SAVE GAME!
89. Go Blue doorway (East Area).
90. Go Cold Room. Take Fuse Case. Make Main Fuse.
91. Go Power Generator Room. Turn on power generator.
92. Go Red doorway (West Area). Kill Poisonous Plants with Flame Rounds.
93. Climb ladder down outside. Ignore Poisonous Plant.
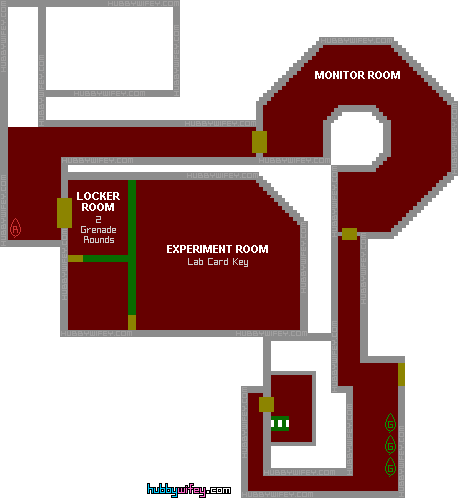
95. Go Locker Room. Use W. Box Key. Take 2 Grenade Rounds.
96. Go Experiment Room. Kill zombies with Grenade Rounds. Take Lab Card Key.
97. Go back to Monitor Room.
98. SAVE GAME!
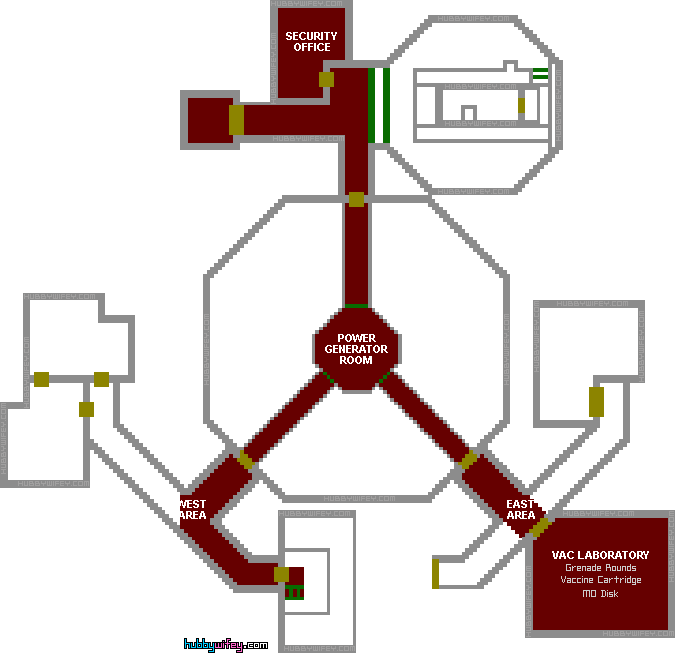
99. Backtrack to upstairs. Go Blue doorway (East Area) to VAC Laboratory.
100. Use Lab Card Key. Take Vaccine Cartridge and Grenade Rounds. Kill zombies with Grenade Rounds.
101. Set Vaccine Cartridge into the Activator. Switch on the VAM. Take MO Disk. Retrieve Base Vaccine.
102. Go to Red doorway. Avoid/Kill Poisonous Plant. Go back down ladder again towards Monitor Room.
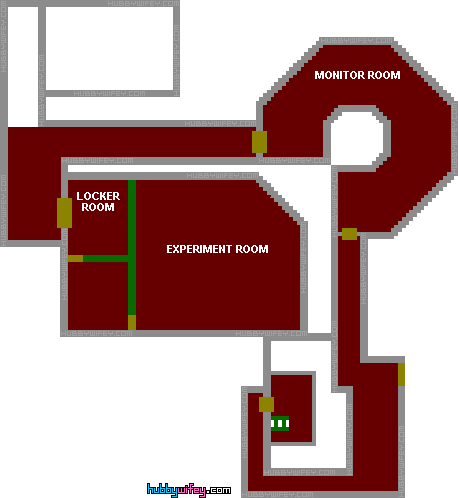
106. SAVE GAME FOR THE LAST TIME!
107. Backtrack to Biohazard Corridor. Go through doors. Activate Platform Elevator.
108. SHOOT FIRST WILLIAM INCARNATION WITH FLAME ROUNDS (around 6 or so shots!)
109. SHOOT SECOND WILLIAM INCARNATION WITH ACID/FLAME ROUNDS (around 10 or so shots of Flame Rounds!)
110. Go Platform Elevator. Follow the corridor to the final cutscene.
... if you did it right that is... :)
Sources:
1. "Claire Scenario 1 Speed Guide by MKim." GameFAQs, 1 January 2000, Web. 22 July 2021.
2. "Maps (Resident Evil 2)." Evil Resource, n.d., Web. 10 July 2021.
3. "Resident Evil 2 maps"." Resident Evil Wiki, n.d., Web. 10 July 2021.
4. "Unlockables in Resident Evil 2 (1998)." Resident Evil Wiki, n.d., Web. 10 July 2021.